After years of owning and maintaining this backyard koi pond, our client decided it was time for a change. It was a difficult decision. They decided on a pondless waterfall to replace the koi pond. Our client had come to need a lower maintenance landscape, but still wanted to be able to enjoy the sound of running water, and of course the sparkling view.
We found a new home for our beautiful finned friends (and three bullfrogs) with a client in Toano for whom we’d built a pond several years ago. Even though these big guys settled in and loved their new home, it was a sad goodbye leaving this Gatling Pointe home.
The overall landscape was in good shape, but needed some updating and adjustments. We started with a design to include an Aquascape pondless waterfall, new Eagle Bay outdoor kitchen, epic Eagle Bay fire pit area, several updates to the existing landscaping, minor drainage work, and (of course) landscape lighting.


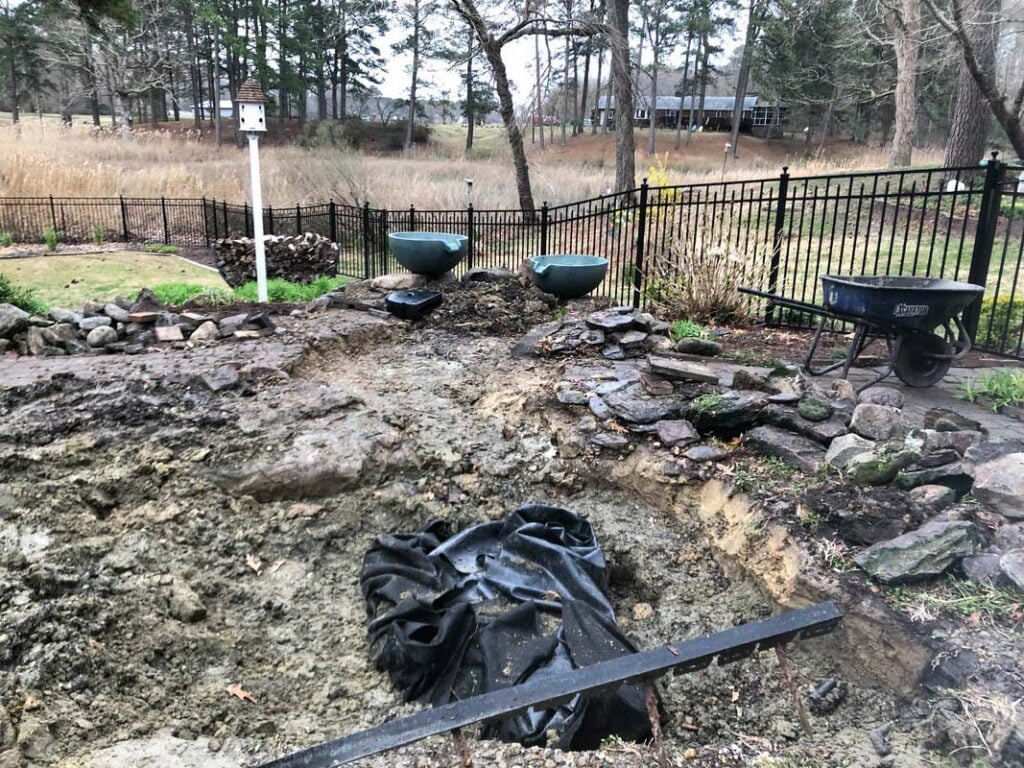
Now, with the design approved and the fish re-homed, we were able to get right to work removing the old pond. We separated the large rock from the small stones and sorted the different types of boulders (removing most of the red sandstone). After removing the old equipment and liner, we started backfilling the old hole for the pond, compacting the soil as we went.
While waiting, we sculpted our soil and laid out our geotextile and EPDM liner for the waterfall. It didn’t take us long to get the waterfall framed out with the large boulders. With the plumbing finished, we started on the smaller rock placement and grading around the waterfall. We also installed the ION Gen System and Auto-Doser to make sure this new waterfall stayed algae-free and healthy.


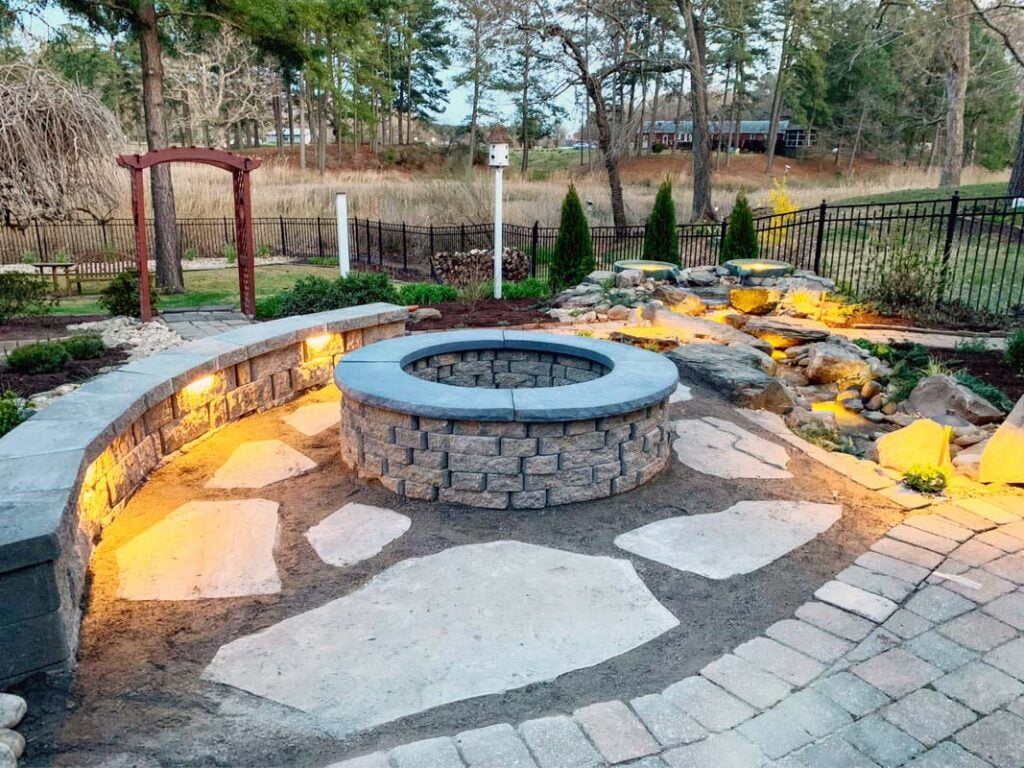
We wanted the fire pit area to feel rustic, but also fit with the rest of the landscape. The seating wall along the back half of the fire pit was perfect for additional organic seating. Now, with the soil in the area finally dried out enough, we installed the Eagle Bay Highland Freestanding Seating Wall, the base stone for the area, and then started on the Eagle Bay Highland Stone Fire Pit. We also made sure our landscape wiring was set for all the LED low-voltage lights we had coming. Now, we moved to laying out our flagstone, and then packing the area with stone dust to finish it off.
With the waterfall and firepit mostly complete, we moved onto the drainage and landscape. There was a lot of grading that needed to happen. We removed the old pipes coming from the driveway, and cleaned the drainage area. We reinstalled the french drain, and then added new river rock accent. We also removed a medium section of turf under a Magnolia tree and converted this to a flower bed. We used forsythia as the backdrop- we love the way the flowers in late winter call out the coming of spring!


The setup was complete! We now had a grill, a place to keep the beer cold, and also the perfect place to eat and relax beside the pondless waterfall.